Friday, February 26, 2010

Tote Along – New Pattern Cover

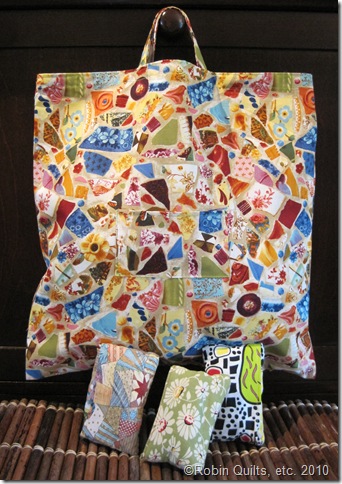
Two Wacky Women will be vending at the Glendale Quilt Show in a few weeks.  As part of the preparation I made a new “Tote Along” sample and updated the pattern cover photo yesterday.

Copy of New Cover Photo

A “Tote Along” uses every inch of a half yard of fabric and takes about a half hour to make.  Once it’s made you simply fold it up, toss it in your purse and your all set to go.  The pattern is available on the Two Wacky Women website (although still with the old picture). 

Enjoy,

Signature

Wednesday, February 24, 2010

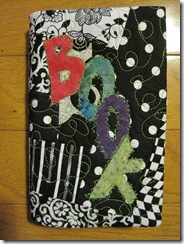
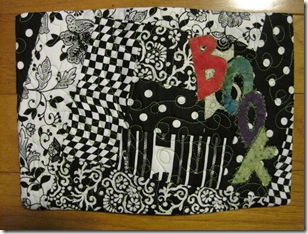
A Wonky, Fun, Book Cover

Finally – Today I took a little time to make something whimsical and just for me.  Sometimes it seems as though I spend my time making samples or doing things I think others will like but this time I made something strictly just for me. 

Over the weekend I got in the “machine quilting”  mode so I wanted to play a little with it today and this is what I came up with.

IMG_1231

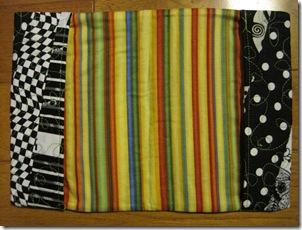
IMG_1232

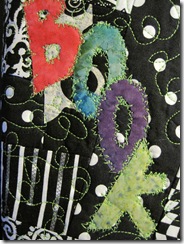
IMG_1233

IMG_1234

I chose to use lime green thread for the quilting.  I did an overall loopty loop and a herky jerky stitch to adhere the appliquéd letters in place.  And, how about that lining, nothing shy there. 

Like I said…….A Wonky, Fun, Book Cover and it’s all mine.

Enjoy,

Signature

Valley Quilters, Hemet, CA

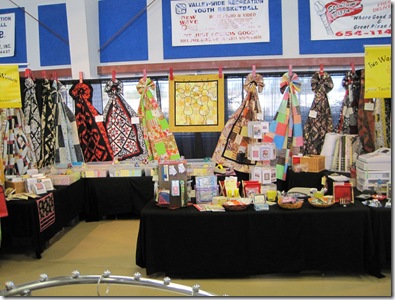
A little over a week ago, Marilyn and I were venders at the Valley Quilters Quilt Show in Hemet, CA.  This is a show we do year after year.  Although by most standards it would be considered a small show, for us it is very special.  The guild members are just as nice as can be.  They take wonderful care of their vendors and feed us continuously from set-up right on through the last day. 

Here’s a picture of our booth.  You can tell from the picture the show is held in a gymnasium in San Jacinto, CA.  

IMG_1184

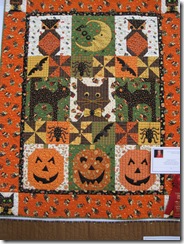
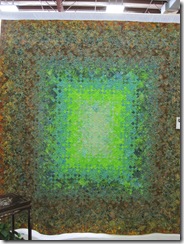
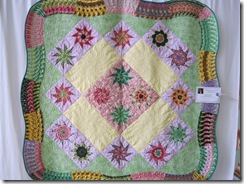
One of the many highlights of the weekend is getting a chance to walk around and view the wonderful quilts the members exhibit.  Here is just a sampling.

IMG_1154 IMG_1155

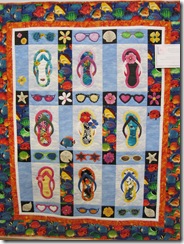
I am a flip flap aficionado so this quilt certainly caught my eye.

IMG_1156 IMG_1157

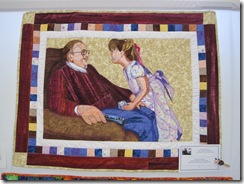
What a wonderful family heirloom.

IMG_1158 IMG_1159

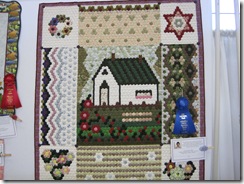
Have you ever seen so many hexagons arranged so artfully?

IMG_1160 IMG_1161

Luv it!  I want this quilt!

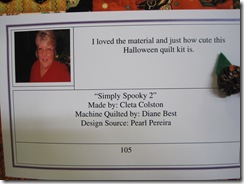
IMG_1162 IMG_1163

One of my favorite holidays – Halloween, YEY!

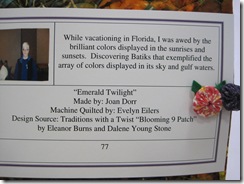
IMG_1166 IMG_1167

Once again a reminder to self……”Self, get out your Blooming 9 Patch UFO and at least work on it”.

IMG_1170 IMG_1172

GORGEOUS!

I hope you enjoyed the mini quilt show.  Don’t forget you can click on any of the pictures to enlarge them and see more detail.

Enjoy,

Signature

Tuesday, February 23, 2010

Colette’s “Letty’s Bag”

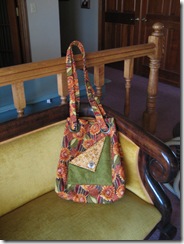
I love when friends and customers send me pictures of they’re finished projects made from one of my patterns.  Last week I received this note.

Hi,
I finally got the pictures taken.  Let's see if this works you know I am not good with this! 
I was looking on the website and my bag doesn't stand a chance against the ones there.  They are really beautiful.
Hope all is well,
Colette

Colette Copland

I totally disagree Colette, you bag turned out just as beautiful as any. 

I first met Colette about 10 years ago when we both went on a bus tour/trip to Paducah.  Several years later we ran in to each other at a Southern California Quilt Guild Association meeting.  Since then we see each other a couple of times a year at quilt shows and retreat.

Thanks for sharing.

Enjoy,

Signature

Monday, February 22, 2010

This and That on Monday 2/22/10

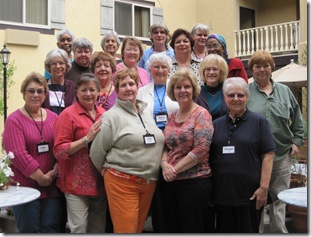
Sorry I haven’t been Blogging this past week but I’ve been very busy.  This past weekend Two Wacky Women facilitated a machine quilting retreat for our good friend Frances Moore.  Here’s a picture of the happy retreaters.

February 2010 Retreat

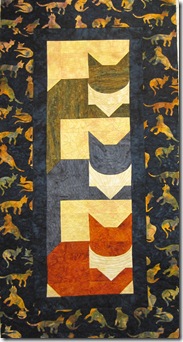
Since I wasn’t teaching, I was able to work on quilting a little wall hanging that has been all layered and waiting to be quilted for more years than I can remember.  I made it in a workshop at my guild a looooooong time ago.  It may have been a class by Lyn Brown but I’m really not sure.

three cats

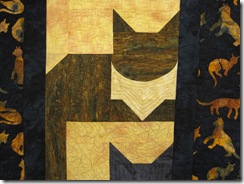
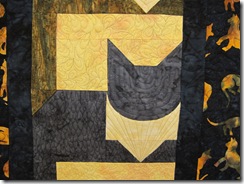
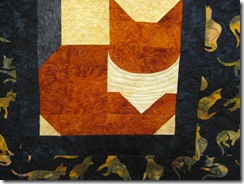
I quilted each cat and each background different.  Here are some close-ups.  Remember I am a pretty darn good piecer but a very mediocre machine quilter, but I”m working on getting better.

three cats 1

three cats 2

three cats 3 

I have a busy schedule for this week. 

1.  Unpack the cars that are filled with fabric, kits, notions and just stuff from the retreat.

2.  I still haven’t updated Quick Books with our show sales from a week ago so that has to get done.

3.  Get back to writing the pattern for the Five, Ten, Twenty quilt and get it to the testers.

4.  Finish the binding on the Five and Twenty quilts.

5.  Get my nails and toes done.  (This is always a high priority for me, LOL).

6.  Fill some pattern orders.

7.  Get ready for another mini trip.  This time it’s with my daughter Shelli.  We are going to The Oaks at Ojai.  This was a Christmas gift to both of us from my niece and her family.  I’m really looking forward to it.  Check it out, it looks fabulous. 

8.  Oh yea, and I have to get ready for a speaking and teaching engagement that I have next week. 

Think all this will keep me out of trouble?  Probably not!

Enjoy,

Signature

Sunday, February 14, 2010

Happy Valentine’s Day

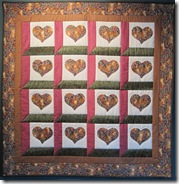
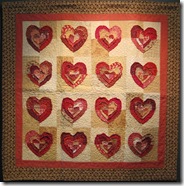
As I look around my house I realize I have made several Heart Quilts over the years, so I thought I’d share them with you today, Valentine’s Day.

IMG_1189 IMG_1190

This was my very first hand appliqué project.  I had no idea what I was doing at the time but I think I did pretty darn good.  I didn’t know how to sew the miters on the window box so the corners are actually folded under and sewn by hand.  This quilt still hangs in my dining room.

IMG_1186 IMG_1187

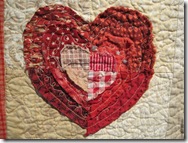
This heart quilt was also made many years ago.  It was part of a group exchange.  We each made raggy hearts and then cut them in fourths and traded.  This was the first time I tried tea-dying to kind of soften the background colors and meld them together.  This one was folded and buried at the bottom of a stack so it’s a little wrinkled.

IMG_1185 IMG_1188

Another oldie but a goodie.  It also hangs in my dining room.  This is a quilt that everyone loves to touch.  The pattern is by Jackie Robinson of Animas Quilts and I think it’s called 3-D Heart but I had trouble finding it on her website (she has a lot of patterns).  It is made using squares that are folded into prairie points and then sewn together to made the center heart.

As usual, you should be able to click on any of the pictures to have a closer look. 

Hope you have a wonderful Valentine’s Day.

Enjoy,

Signature

Wednesday, February 10, 2010

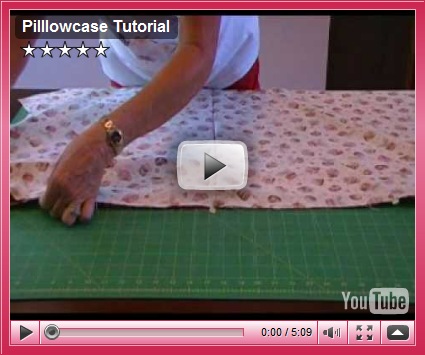
Pillowcase Tutorial

Every once in a while I receive an email from someone that has watched my Pillowcase Tutorial on YouTube.  Today I received the following note

YouTube
helpcentrum | e-mailopties | spam melden

simonedk96 heeft een reactie geplaatst op Pilllowcase Tutorial:

Great tutorial! I only had a printed one and couldn't figure it out. Now I can finally start to make some charity pillowcases. Thank you so much!

Je kunt op deze reactie reageren door naar de pagina 'Reacties' te gaan.

I think the persons name is Simone but I have no idea where she’s from.  Thank goodness she wrote the comment in English so I could read it.

I decided to look and see how many times it had been viewed.  To my surprise it’s been viewed more than 4,000 times.  Who would have thought?  I also realized that it was exactly 6 months ago today that I posted the video. 

Anyway, thank you to all of you that have shown your support.  You have no idea how much it means to me.

Just in case you’re not one of the 4,000, here’s a quick link.

Enjoy,

Signature

Tuesday, February 9, 2010

Making a Quilt(s) – Chapter 4

I forgot to mention earlier that as part of the planning stage and the cutting up of lots of paper, I actually do use a real quilt designing tool EQ6.  So not only do I make the blocks in paper I also make the blocks and quilt top in EQ6.  For this particular quilt, the paper works the best, although most of my other quilt patterns where designed almost entirely using the software. 

So now on to making the “real deal” a quilt.  Oh yeah, before we go there I wanted to let you know that this quilt pattern has morphed from a Five – 1 yards cut quilt to become “Five Ten Twenty”.  As it turns out this quilt works equally well with Five – 1 yard cuts, Ten – 1/2 yard cuts or Twenty – fat quarters. 

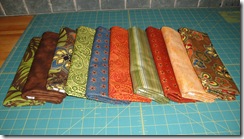
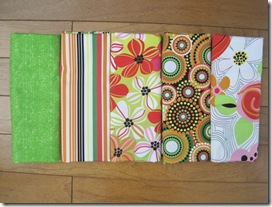
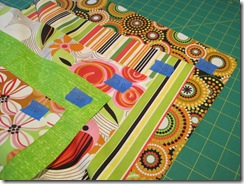
So here we go.  Here are the fabrics that have been chosen.

Five
Five

Ten

10

Twenty

20

As you can see, each of them are very different and will result in a very different  looking quilt, however each will be made exactly the same way.

I’ve finished the Five and Twenty quilt tops and they are going to the my friend Sue to quilt on her long arm.  In fact I’m delivering them today.

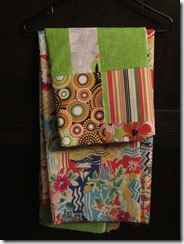
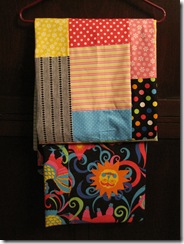
Here they are all ready to go.  The quilt is on the top and then you can see the backing fabric underneath.  BTW both the backing fabrics are wonderful Alexander Henry fabrics (I love Alexander Henry).

Five – Quilt Top and Backing Fabric
IMG_1150

Twenty – Quilt Top and Backing Fabric
IMG_1148

The Ten quilt top is being made by Marilyn. 

Sorry you just get a glimpse of the quilt tops for now, after I get them back and put the binding on, I’ll share pictures of the completed quilts.

But for now the real work begins.  I’ve taken lots of notes, I’ve made two very different looking quilts so now it’s time to buckle down and write the pattern and make the illustrations.  I have two volunteers lined up to test the pattern, my friend Linda and my sister Melinda.  Both of them have tested patterns for me in the past and I know will do a wonderful job. 

Chapter 5 is probably a ways off so in the mean time I’ll find some other things to Blog about.  Two Wacky Women are vending at a quilt show this weekend and we have a retreat the following week, it’s a busy time.

Thanks for tagging along.  BTW you should be able to click on any of the pictures to enlarge them.

Enjoy,

Signature

Sunday, February 7, 2010

Cutting and Piecing (not quite yet) – Chapter 3

I’ve picked out my fabric for my “prototype/pattern writing” quilt. 

5

Remember, this all started because Marilyn had five yards of fabric she wanted to use.  These are the same fabrics you saw used in one of my Letty’s Bags (you can see it here).  I love this fabric and I think it will work well for this new quilt.

But, before I start cutting into this fabric I need to do one more thing.  All my planning so far has been on 1/4” graph paper so I haven’t really seen it full size.  Without seeing it drawn full size, it’s hard to visualize the proportions.  So my next step is to make a block (once again using paper) real size. 

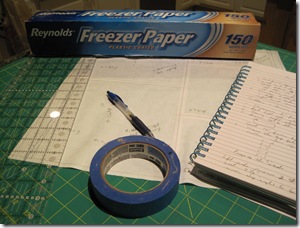
This is a block that is made oversized and then cut down.  So I did the exact same thing but not wanting to cut into my fabric yet I used freezer paper.  Here are all my tools for a freezer paper block.

IMG_1145

For those of you that don’t know what freezer paper is, it’s sort of like butcher’s paper. It’s plain paper on one side but the other side is shiny/waxy and when ironed will stick to it’s self. 

I cut my large oversized starting square, made my cuts with a ruler and rotary cutter, sewed it back together, by overlapping my 1/4” seams and finally trimming my block to size.  I also write more notes right on the paper so that I have it for when I start writing the actual pattern.  By going through all this, I re-adjust some of my measurements until it looks the way I want it.

I guess it’s finally time to cut the real deal fabric.  I’ll do that in Chapter 4.  See you then.

Enjoy,
Signature

Friday, February 5, 2010

The Planning Stage – Chapter 2

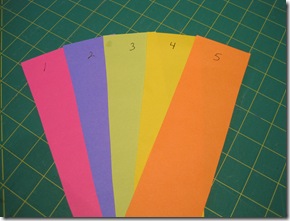
When Marilyn asked for a new design she had five – 1 yard cuts that she wanted to use.  With that in mind my first design attempt used just five fabrics (hmmmm will it stay at just five?), well not fabric but paper. 

 IMG_1129

In my real life, I am anything but organized but not when it comes to designing.  In order to stay organized I start out by numbering each fabric paper.  Once I start playing around the organization is crucial as I can easily get myself confused. 

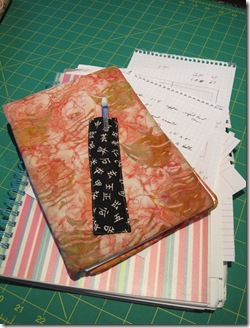
As I think it through, I take notes.  As I mentioned in Chapter 1, I always have a notebook with me.  This is not where I usually design but in this case (since I was riding in a car and not planning on starting a new design) this is what I used to start my notes.  BTW it’s a spiral notebook using my “Not Just Another Note Pad” pattern.  This one was made by Frances Moore as a gift at one of her machine quilting retreats.

IMG_1130

The notebook under neither is where all my design thoughts, notes and patterns have lived for the last several years.  It is well used and slightly tattered.  I try not to remove any pages even if they don’t appear to be of any value.  You just never know when you want to go back and review something.

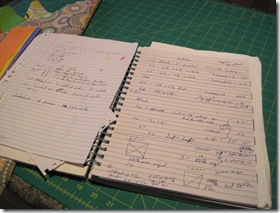
Here’s a picture of the inside showing some of my notes from an earlier design.

IMG_1131

As you can see it has other pages stuck in here and there.  It’s messy, but it works for me.  So I’ve now taken my original notes from the spiral notebook and taped them to the starting page of the new pattern. 

The next step is to start making my prototype quilt, selecting the fabric, taking notes and pictures all along the way. 

Next up, Chapter 3, let the cutting and piecing begin.

Enjoy,
Signature

Print Friendly and PDF
Related Posts with Thumbnails